All text and images are by Stephen Barlow (SteB1)
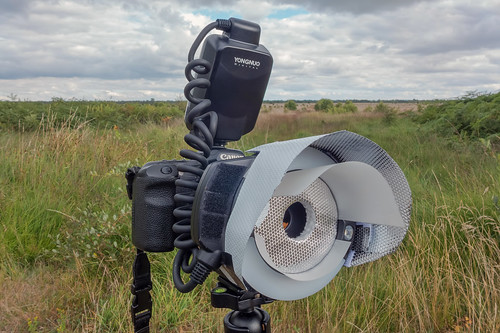
The aim of this diffuser design was to produce a low cost easy to use macro flash, with extremely good diffusion characteristics i.e. flash light that does not blow the highlights on shiny curved surfaces. I used the Yongnuo 14EX flashgun, as it is inexpensive, well built, and recycles very quickly. In addition the focusing lights can be operated by dabbing the shutter button. The LED focusing lights are very bright, and could be used to see at night in night time macro photography. This diffuser could be adapted to any Macro Lite type diffuser, or even a Ring Flash.
The design of the diffuser is based on my curved end of lens concave diffuser, which produces wrap-around light. In this design the whole diffuser face is approximately the same distance from the subject.
It's important to understand that this is a diffusion principle i.e. you can make different diffuser designs based on these principles, and I've been working on different designs.
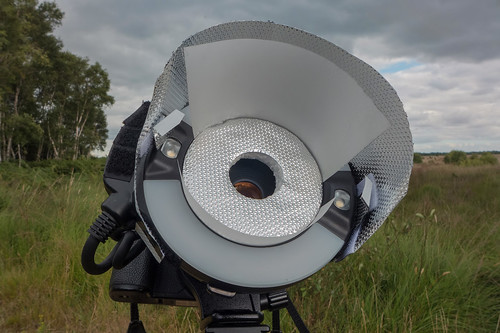
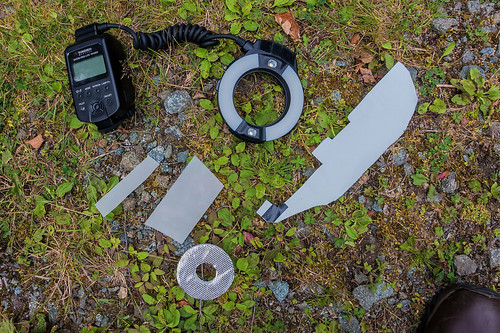
You need these materials. A reflective hood. I used reflective mylar sheet with an embossed surface (used in hydroponic growing). Although you can use any reflective material, even just card with aluminium tape. I've used diffuser gel for the diffuser, although velum paper will do a similar job. The hood is attached to the flash head using self-adhesive Velcro tape. The centre piece, which helps to prevent a large black area in the flash reflection is best cut from the foam used for cheap camping mats (the photo shows expanded polystyrene). It's cut using a circle compass cutter. Push a hole right through foam with a needle, and then cut from either side, if the blade is to short to cut through the material.
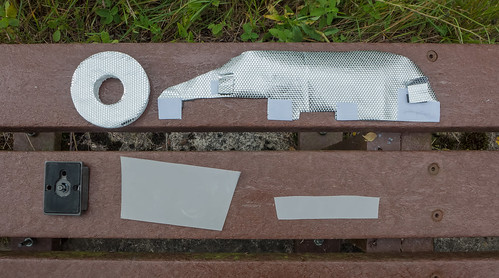
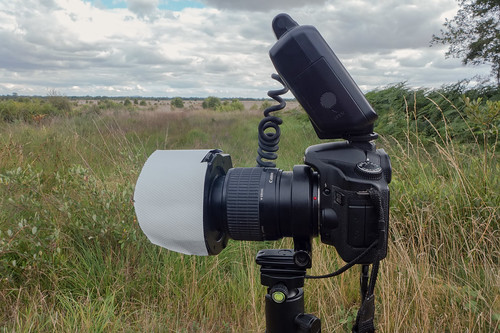
The diffuser and hood are best the same length, and a 5cm length (the overhang) is a good all round size. It's easy to make and carry other lengths.
The diameter of the centre hole depends on the size of the front element of the lens and needs to be just big enough to prevent vignetting. With the camping mat foam the centre hole can cut it so it will take a Raynox close-up lens with a push fit.
The inner reflective tabs by the focusing light are to deflect the light in at close working distances. You can prevent light overspill by making the hood 1cm longer. Fold it over with a crease, and then cut to the crease every 1-1.5cm, so it will bend.
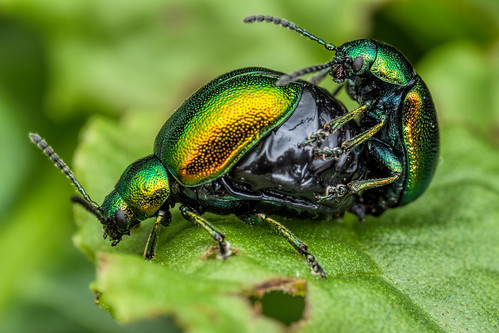
With this design you use the top tube as the main light. The bottom tube is either left off, or is used on the lowest power ratio setting for fill-in from below. Fill-in from below is useful with beetles that have a black underside. It also stops deep shadows under the subject.
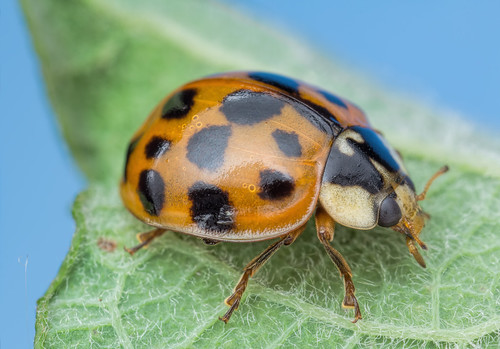
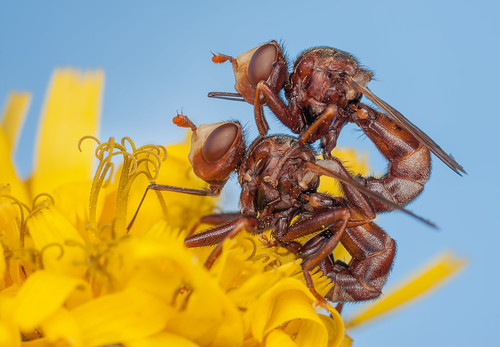
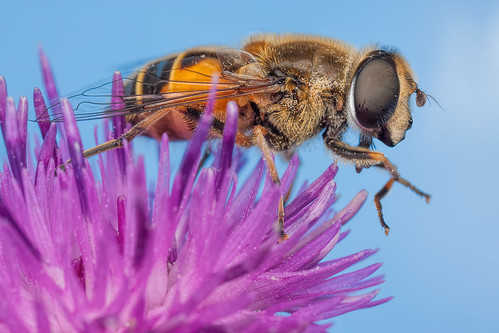
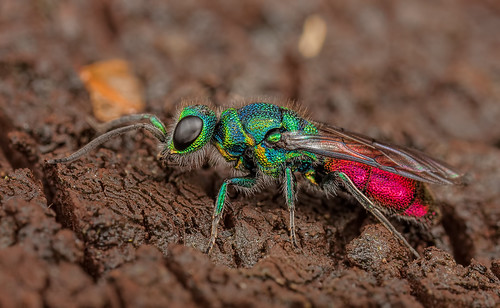
Sample images from this setup.
As an Amazon Associate I earn from qualifying purchases.